Type and we'll find what's right for you right away 😉
No results found...
If you need help, contact us 😊
You have more than one purchase in progress. Choose which checkout to continue.
Simple artwork with solid colours and legible detail works best for screen printing. This guide adapts the technical sheet to the print sizes currently offered in the configurator.
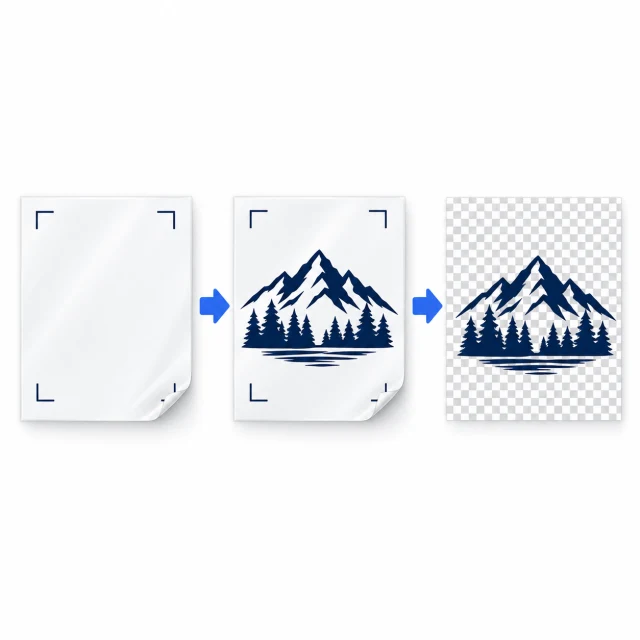
Send a PSD, PDF, PNG or TIFF at 1:1 scale. Vector artwork is preferable where possible. Remove guides and comments from the final file.
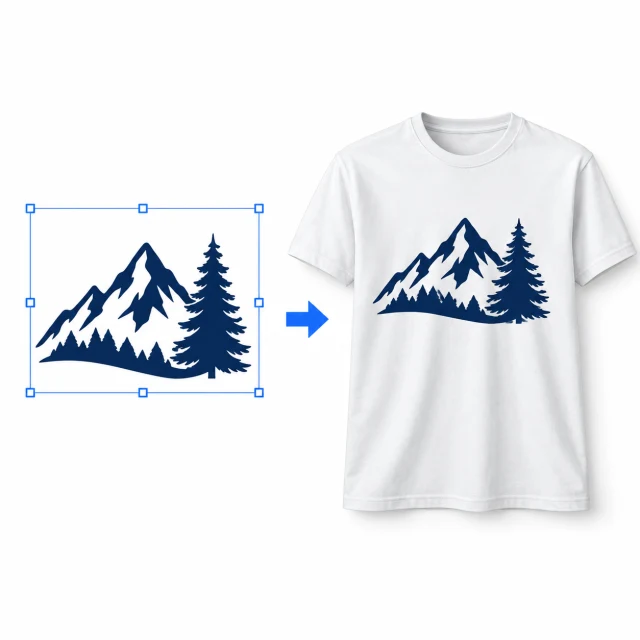
Send artwork on a single layer, using distinct solid colours. Count white artwork as a print colour. An exact Pantone match is not guaranteed.
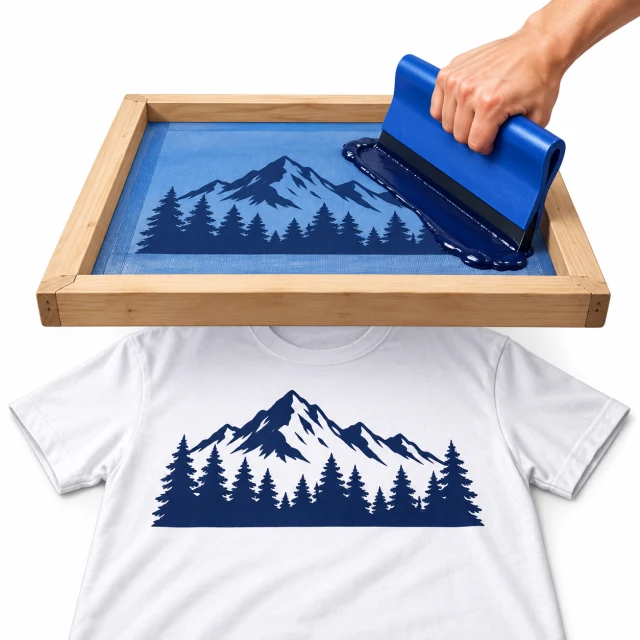
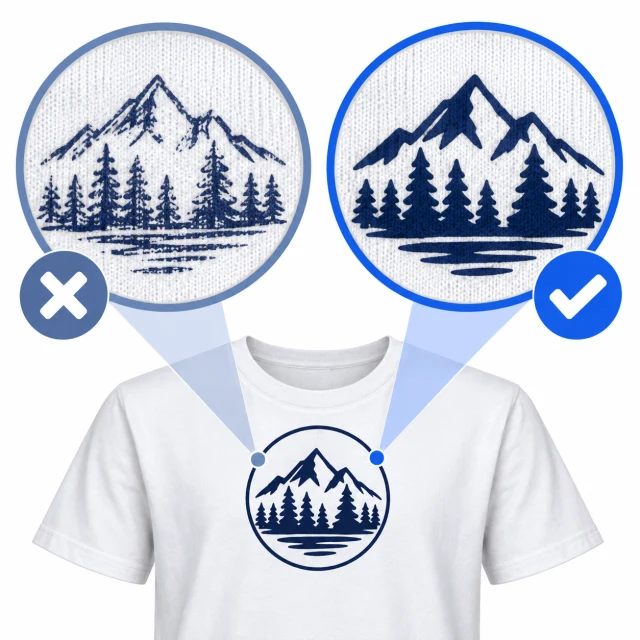
For raster artwork use 250-300 dpi at the final size. Avoid gradients, halftones, very thin lettering and text below 20 pt; the technical sheet specifies a minimum stroke of 2 pt.
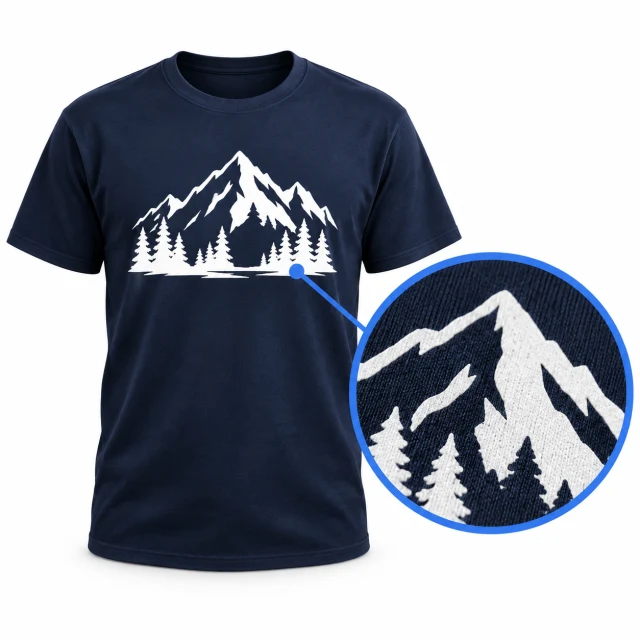
A white underbase may be needed to keep colours bright on dark fabric. We prepare it: do not include it as a visible artwork element unless we have agreed otherwise.
Standard is up to 28 × 40 cm. Large is up to 35 × 42 cm for the surcharge shown in the configurator, only on compatible garments and positions. Always check the area allowed for your product.
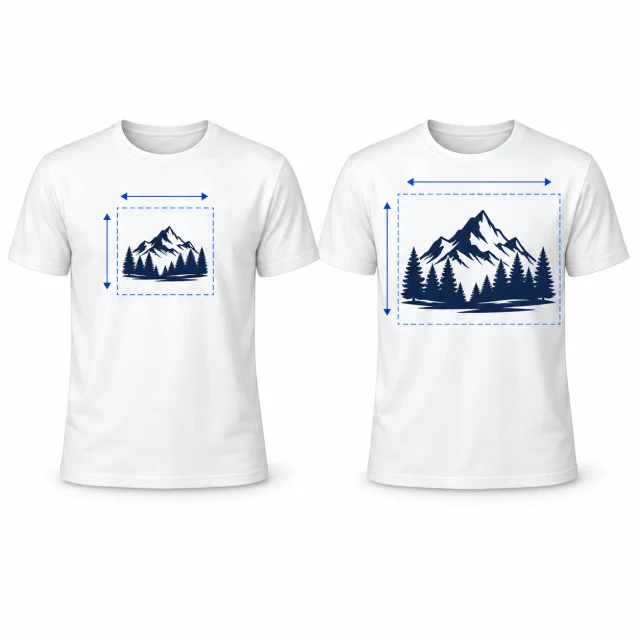
Each PDF template has a page at the exact stated size. Add your artwork, then remove the border, dimensions and centre mark before sending the file. Large is available only when the configurator offers it for the garment and print position.



 Customer Service

