




How to create a photo T-shirt online
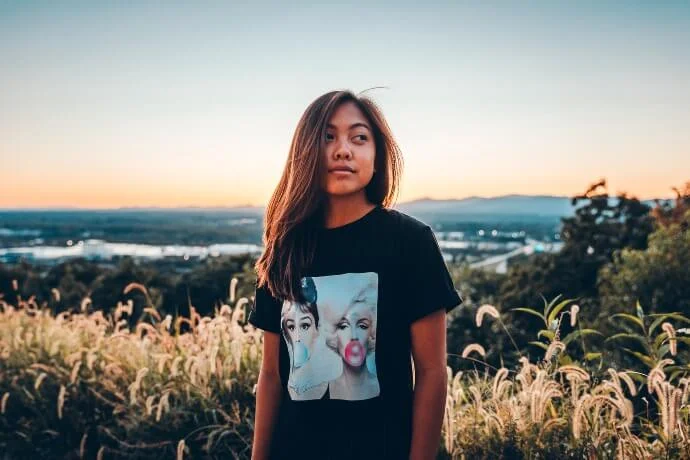
Creating custom photo t-shirts is a great idea for an event, like a birthday, anniversary, or graduation, and it's perfect for any occasion. Simply choose a fun, playful, or sentimental photo, depending on the occasion, and you're done.
A photo T-shirt is one of the custom T-shirts you can create online. In this guide, we explain how to best create one by preparing your photo for printing.
Let's first look at the essential information for preparing the file and, secondly, the 3 simple steps for creating custom t-shirts on Burger Print!
To go from the guide to the catalogue, start from the custom t-shirts page: from there you can choose men’s, women’s or children’s styles and configure a quote online.
Custom photo T-shirts: how to prepare your file for printing
Photos often contain many colours and shades. One technique used to print them on a T-shirt is direct digital printing.
For your chosen model, check the available printing options when requesting a quote.
Speaking of quality, it's crucial that your photo or photos are perfect for T-shirt printing, so we want to give you some important information about this:
- File format and size : Convert your photo to PDF, TIFF, or PNG format at 1:1 scale. The file must be a rectangle measuring A4 (21×29.7 cm) or A3 (29.7×42 cm).
- File colours : send the file in CMYK with the Fogra 27 colour profile. If you send images in RGB or with Pantone colours, we will automatically convert them using a standard separation profile.
- Resolution : The optimal resolution for a photo for a T-shirt is 300 dpi. For optimal results, it's important not to go below 250 dpi.
Now that you can best prepare the photo to print on your custom photo T-shirts, here are the 3 steps to create them.
Read also: Personalised photo blanket: tips for the perfect gift!
1) Photo printing: choose the right t-shirt model for your needs.
Click here: Custom T-Shirts to access our catalogue of customisable T-shirts online and choose the right one for you. Decide whether you need a women's, men's, or children's style, and then choose the T-shirt cut you prefer.
To choose a model, you can use the material filters, for example “Cotton” or “Organic Cotton“. Check the printing options available for your chosen T-shirt.
At this point, click on the model you prefer and proceed to the second step.
2) Choose the colour, size and position of the photo on the personalised T-shirt.
Are you on the product page for the T-shirt you’ve chosen? Great, then click “Get a Quote” and fill out all the fields. Then choose the quantity of T-shirts, the colour and the print placement.
You can place your photo on the front or back of the shirt. Additionally, some T-shirt designs allow for off-centre placement, such as over the heart.
Choose the packaging and other options available in the quote.
Read also: Gift ideas: personalised t-shirts for sports-loving kids!
3) Proceed with the payment and send us the photo file to be printed!
Now you can click “Add to Cart” and check the order summary. Fill in the requested details and proceed with payment.
Check the available payment methods.
Follow the instructions during your order to proceed with uploading the file: keep the earlier instructions handy and send us a high-quality file in the correct size.
Check the proof and the instructions you receive before printing if you want to make changes or replace the file.
A carefully prepared photo helps achieve a print suited to your project.
To get started, explore custom T-shirts at Burger Print!